How vendor registration works
Vendors register on your marketplace storefront at yourstore.com/vendor/register and complete the onboarding steps your marketplace has turned on. Admins choose those steps, review vendors who have not finished, and can add vendors directly. This guide covers both sides of the process.
Choose onboarding steps
Section titled “Choose onboarding steps”Admins decide which verification steps vendors complete. A step that is turned off does not appear during registration.
- Sign in to the FlyCommerce admin dashboard.
- Go to Settings → General and open the Vendor Onboarding tab.
- Turn each step on or off:
- Email Verification: vendors must verify their email address before they can access the platform.
- Business Details: company name, company type, and registration details.
- Contact Information: tax identification numbers and compliance documentation.
- Identity Cards: government-issued documents and personal information.
- Tax Information: TIN number, tax office, and tax certificate.
- Bank Information: banking information for payment processing.
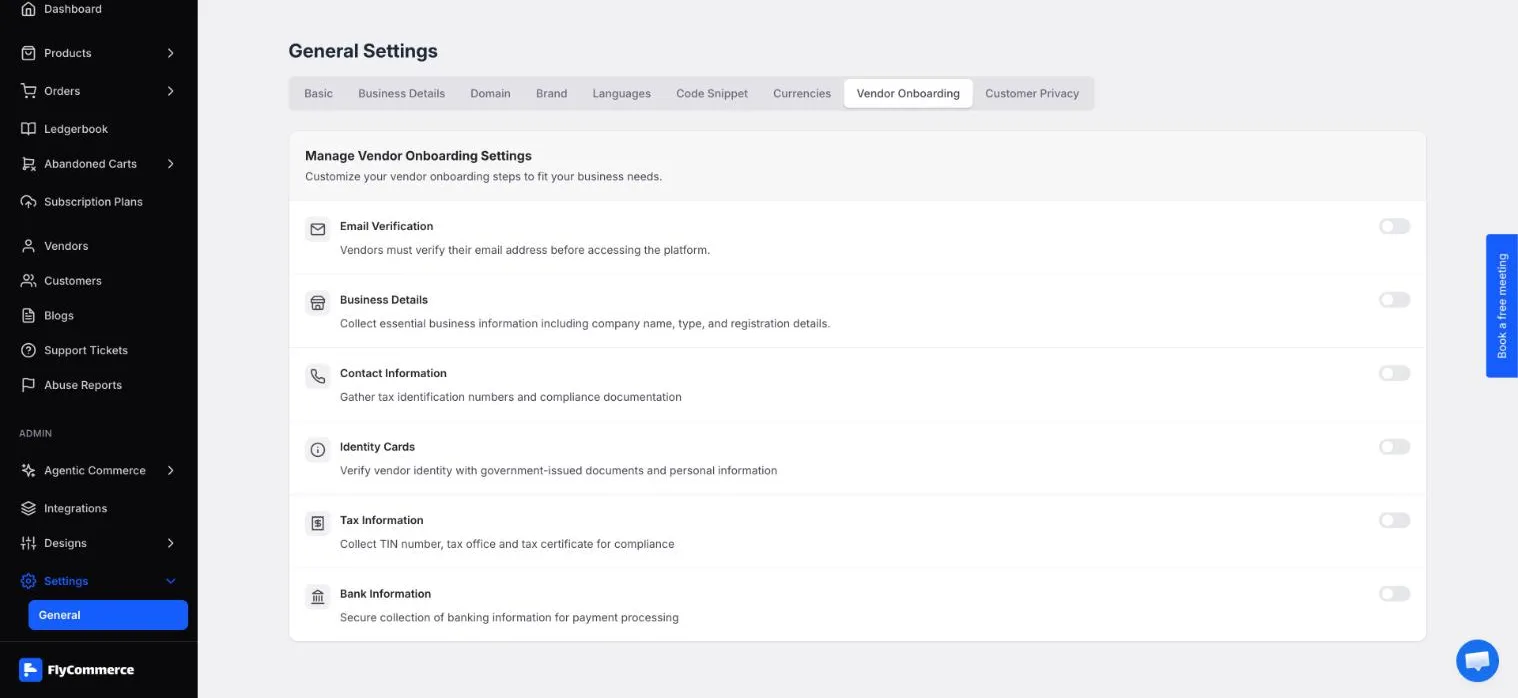
The Vendor Onboarding tab turns each registration step on or off.
Review incomplete onboarding
Section titled “Review incomplete onboarding”Vendors who have not finished registration appear under the Incomplete Onboarding tab on the Vendors page.
- Go to Vendors and open the Incomplete Onboarding tab.
- Review the vendors listed and follow up with them as needed.
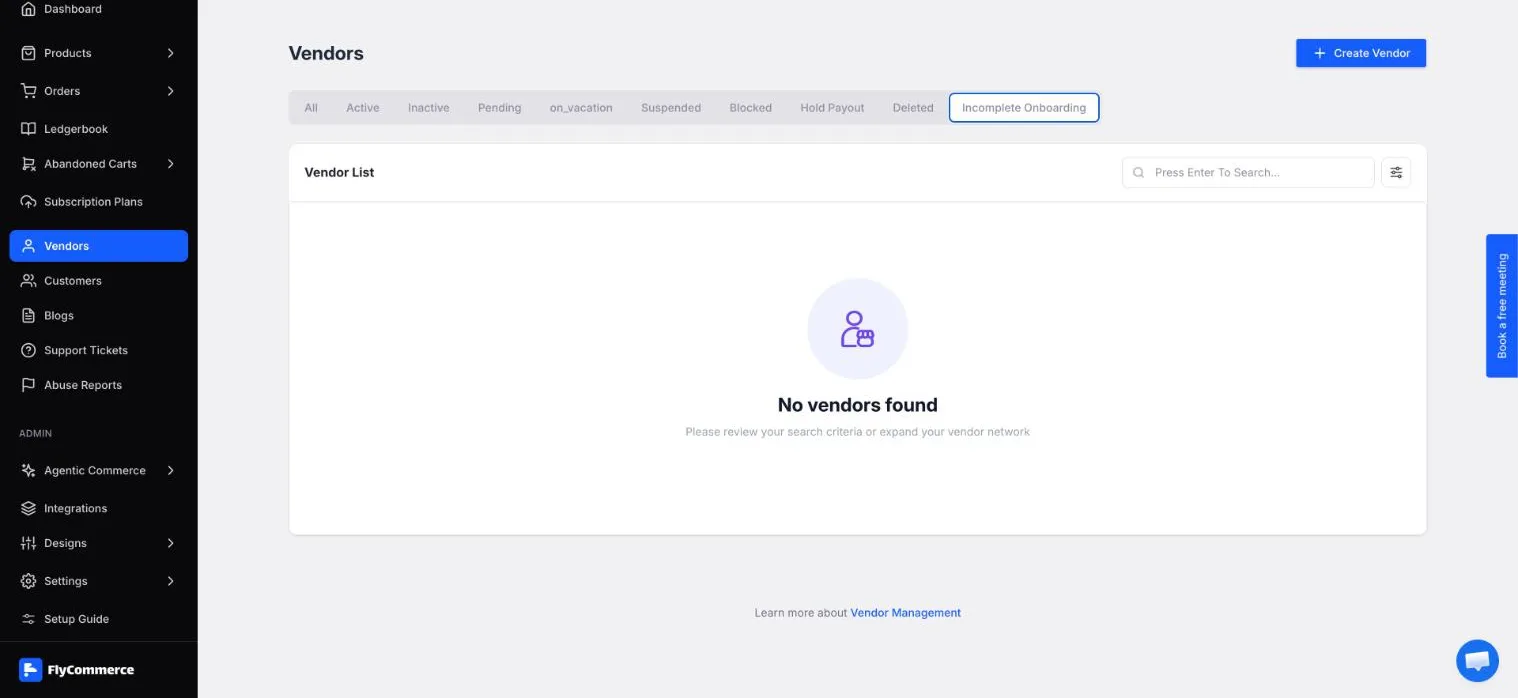
Vendors who have not finished onboarding appear under the Incomplete Onboarding tab.
To add a vendor directly instead of waiting for a registration, see Create a vendor.
Manage vendor status
Section titled “Manage vendor status”The Vendors list has tabs for each status, including Active, Inactive, Pending, Suspended, and Blocked. To change one vendor’s status, follow these steps.
- Go to Vendors and select Edit from the row actions (⋯) for the vendor.
- On the General tab, use the Status field.
The Status field shows the note “Please assign a plan to change status.” Assign a subscription plan to the vendor first, then change the status.
Register as a vendor
Section titled “Register as a vendor”Follow these steps if you are applying to sell on a marketplace.
- Go to
yourstore.com/vendor/register, or select Become a Seller in the storefront footer. - Sign up with Google, or enter your First Name, Last Name, Email Address, Password, and Confirm Password. Select Keep me aligned with updates if you want to receive updates.
- Select Create Account. By continuing, you agree to the marketplace’s Terms of Service and Privacy Policy.
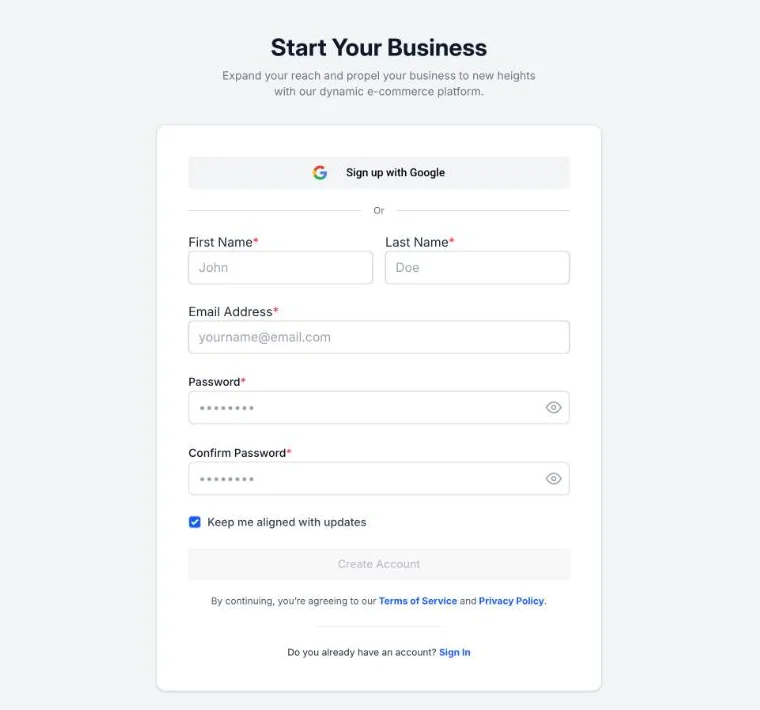
The vendor registration page at /vendor/register collects your account details.
If you already have an account, select Sign In on the registration page instead.
- Complete each onboarding step your marketplace has turned on. If you do not see a step, the marketplace has turned it off. If email verification is on, verify your email address before you continue.
- Choose a subscription plan. Free plans skip the payment step. Paid plans require payment before registration is complete.
- After you finish the steps and any payment, your vendor dashboard opens.
Until you finish, your application stays under the Incomplete Onboarding tab for admins to see.